
At The Dojo, we are based on our 3 C’s
Connect, Collaborate, and Create
We are based in and serve a community we live in and strive to make the places we live and work a better place.
The Summer Creative Series is a workshop series that is focused on bringing together the community and showing people what is possible with photography.

Todays Guest
Todays Host

Natural Light
Understanding the Exposure Triangle
In photography, the exposure triangle explains how shutter speed, ISO, and aperture work together. These three factors are key to every photo you take, whether you're using film or a digital camera.
Knowing the exposure triangle helps you predict how your picture will look before you take it. Even though running out of film isn't an issue with digital cameras, understanding how these settings work together will make you a better photographer.
There's no single "correct" exposure for a scene—it's all about what you want your photo to look like.
What is Photography?
Photography means "light painting." To capture the image you see in your mind, you need to understand how aperture, shutter speed, and ISO control the light entering your camera.
The Exposure Triangle: Quick Breakdown
Aperture: Like the pupil of your eye, it can get bigger (lets in more light, blurrier background) or smaller (lets in less light, sharper background).
Shutter Speed: How fast your camera blinks. Fast shutter speed freezes motion; slow shutter speed shows motion blur.
ISO: Controls your camera's sensitivity to light. Low ISO = darker image; high ISO = brighter image but can look grainy.
Exposure Broken Down
-

Aperture and Shutter Speed
1. Aperture
Like the iris of your eye, the aperture blades on the lens of a camera control how much light is let into the camera lens. The amount of light that reaches your camera’s image sensor will determine what the exposure looks like.
Each aperture setting on the lens is referred to as an f-stop, a fraction that indicates the diameter of the lens opening. Aperture also determines the depth of field and sharpness. Every lens has a “sweet spot” or “critical focus,” usually between f/4 and f/11.
2. Shutter Speed
While aperture determines how wide the lens opening is, shutter speed determines how long the lens stays open for, letting the specific amount of volume of light into the sensor determined by the aperture. A faster shutter speed, like 1/1000th of a second, has the effect of freezing motion, while a slower shutter speed, like 1/60th, will blur motion in a scene.
-

Build it.
3. ISO
ISO is the international standard of measurement that determines how sensitive a photographic film emulsion or digital sensor is to light. When increasing the ISO it allows you to work with less light, however if the ISO is increased often times there will be more noise and less detail within your video. In other words, when increasing your ISO it will bring light into dark images, but as a result can diminish the quality of the shot. At lower ISOs the degree of your camera’s signal is significantly large when compared to the noise, this means that the noise generally remains inconspicuous. When shooting on your device, it is best to keep your ISO low in order to avoid noise; however, your determined ISO level is ultimately dependent upon the surrounding environment and lighting conditions. For example, if you are shooting in a low-light setting you will need a higher ISO to properly expose the photo and brighten up the film. On the other hand, when you are in a very bright setting and trying to capture footage, a lower ISO would be appropriate in order to avoid noise getting into your photo or video.

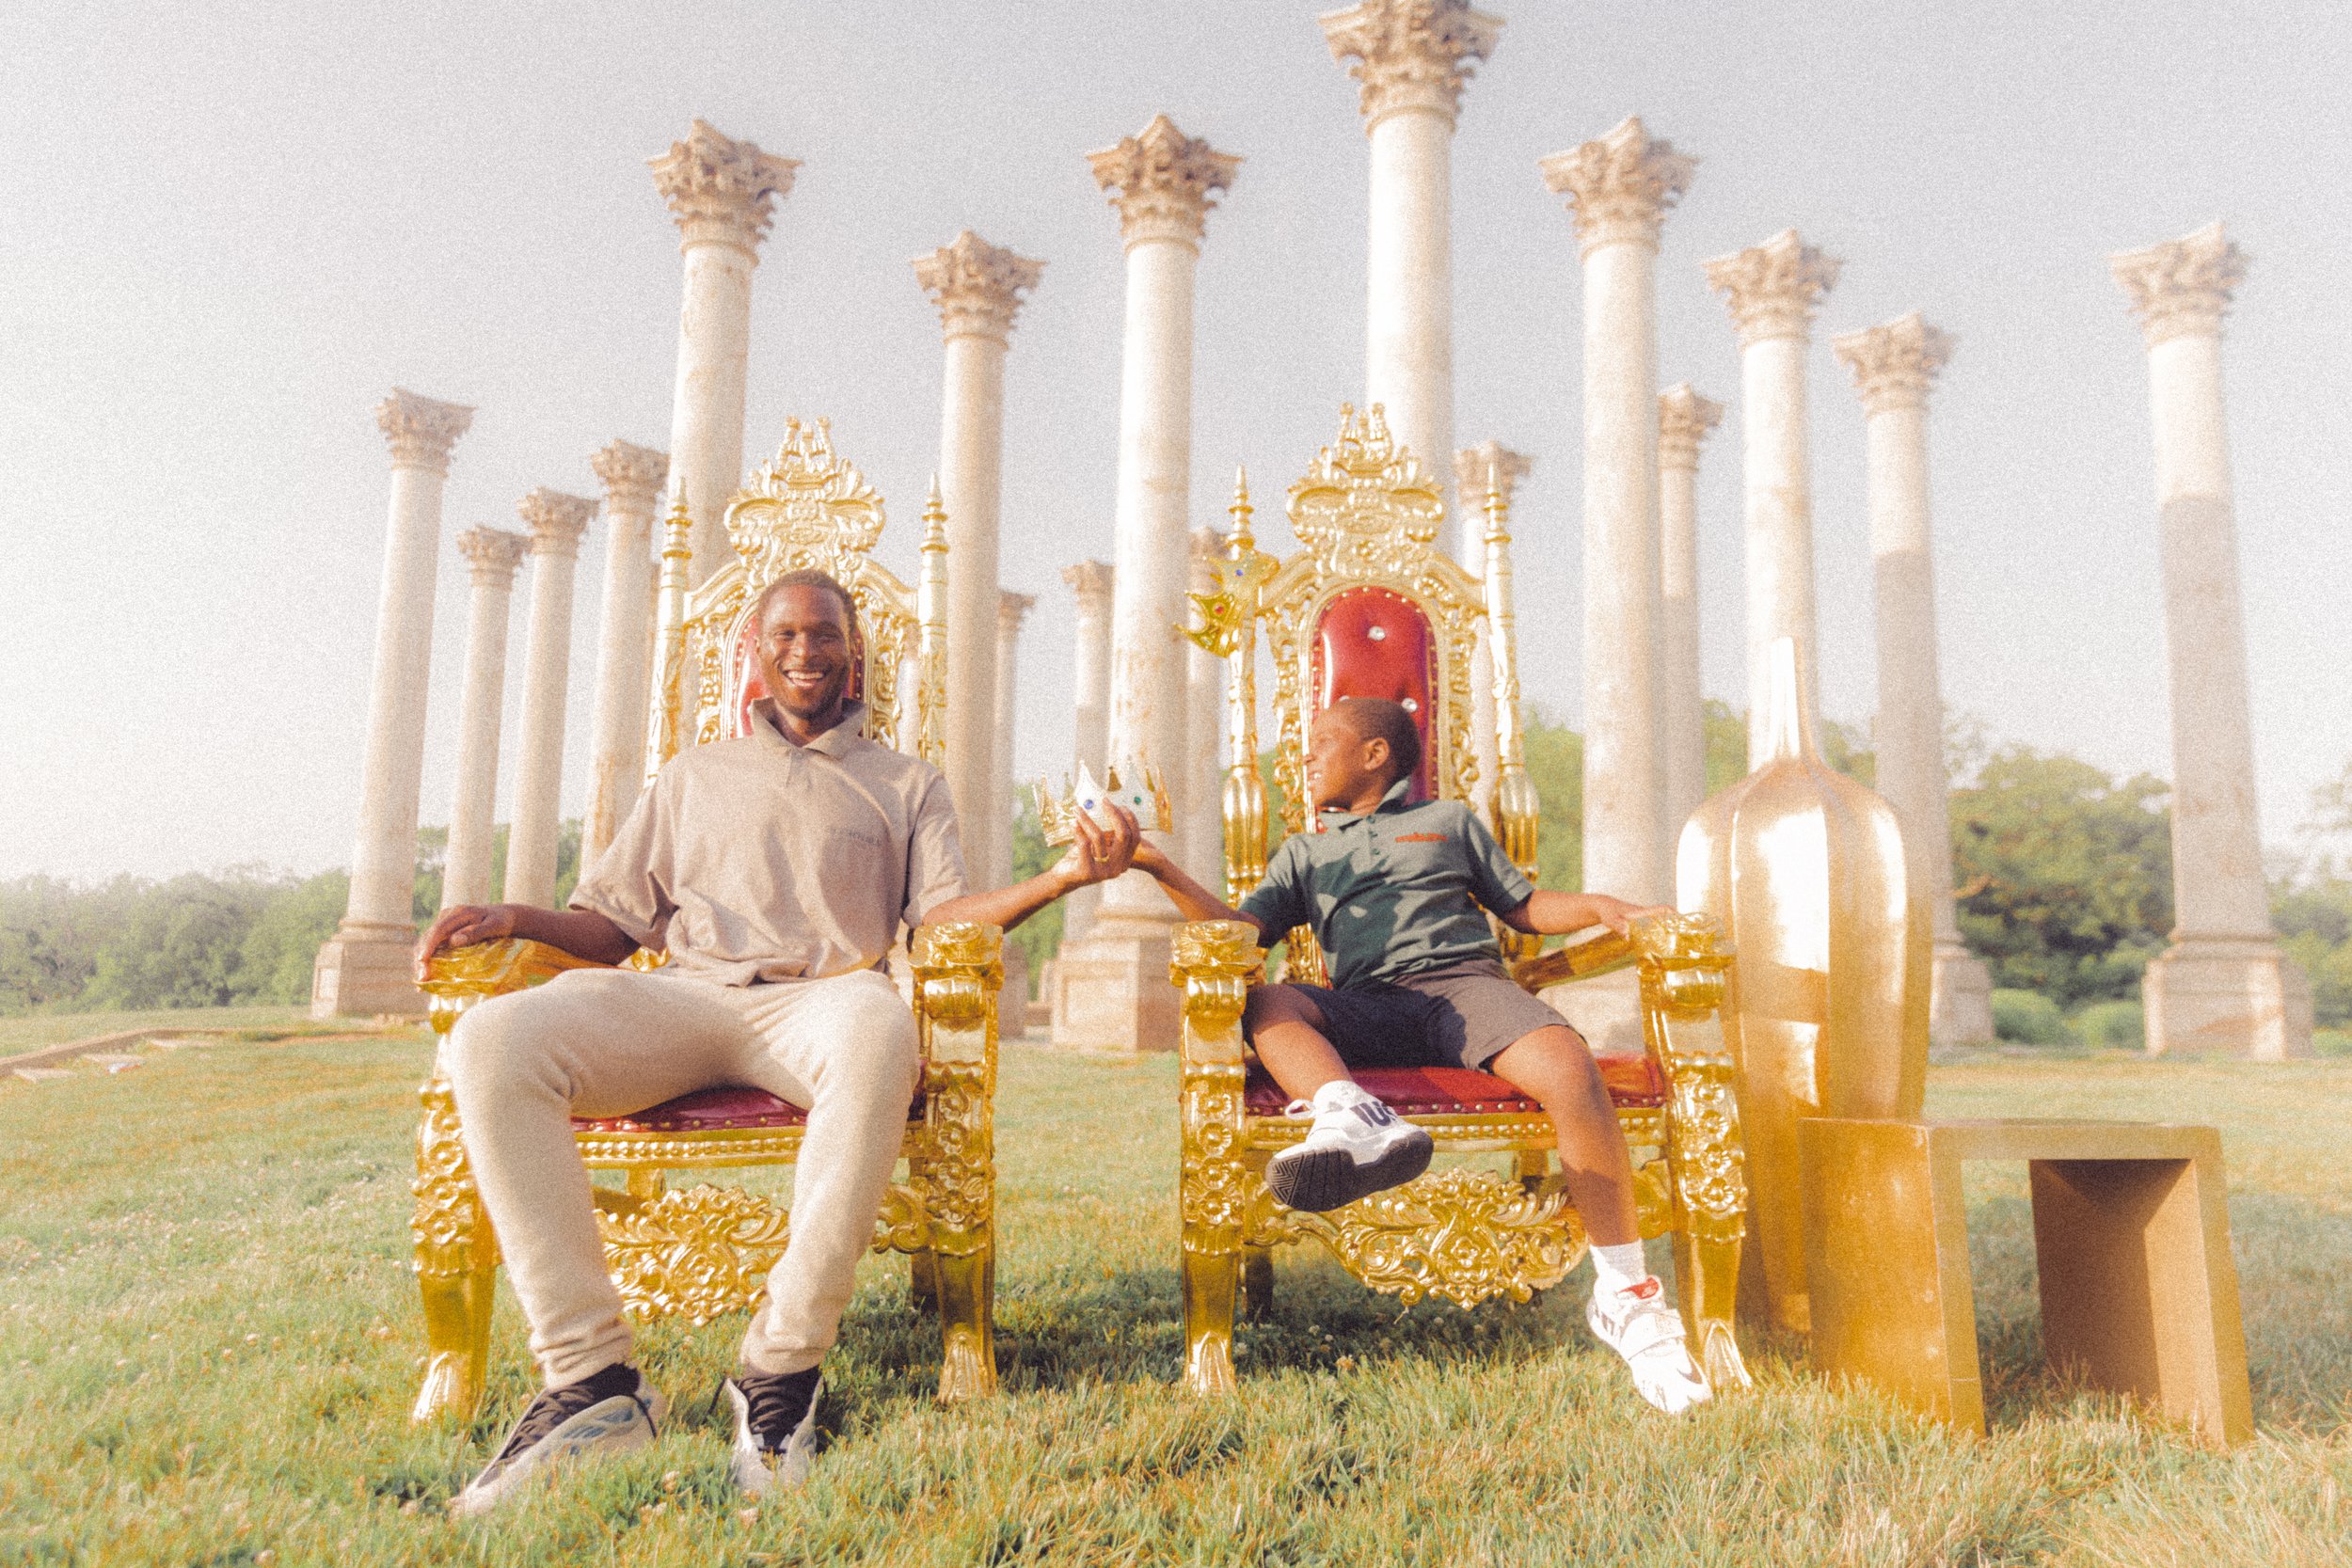
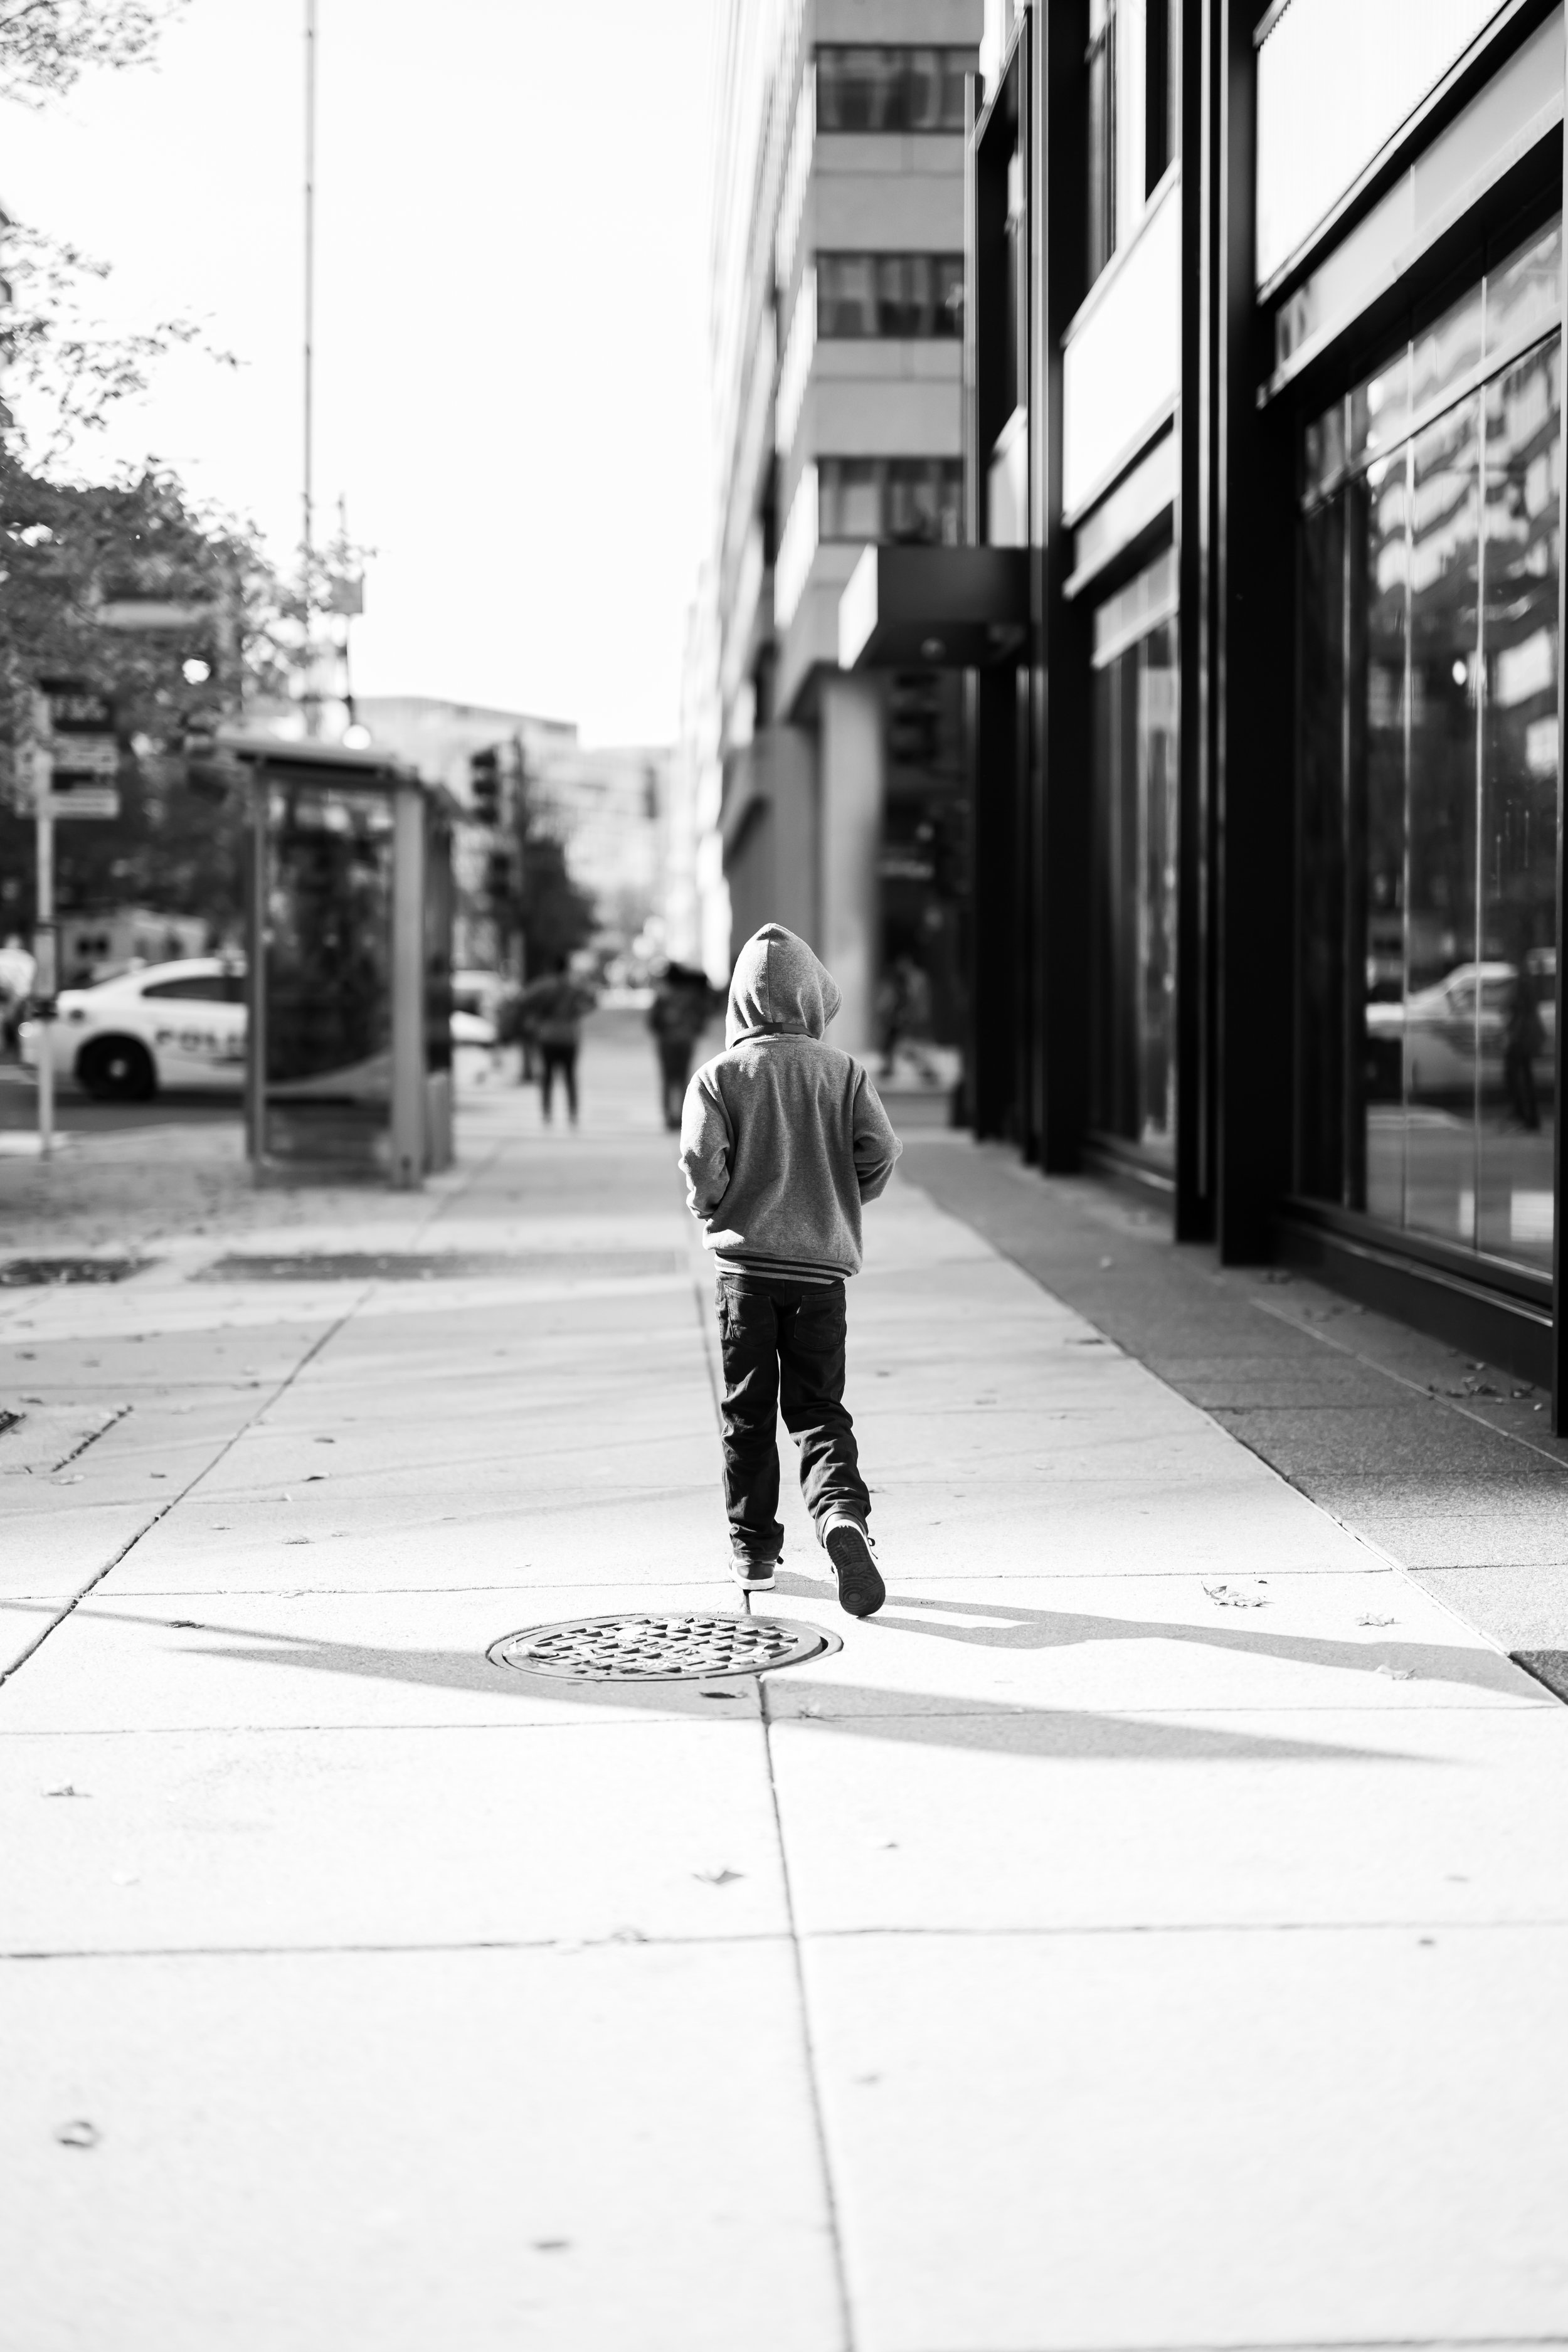
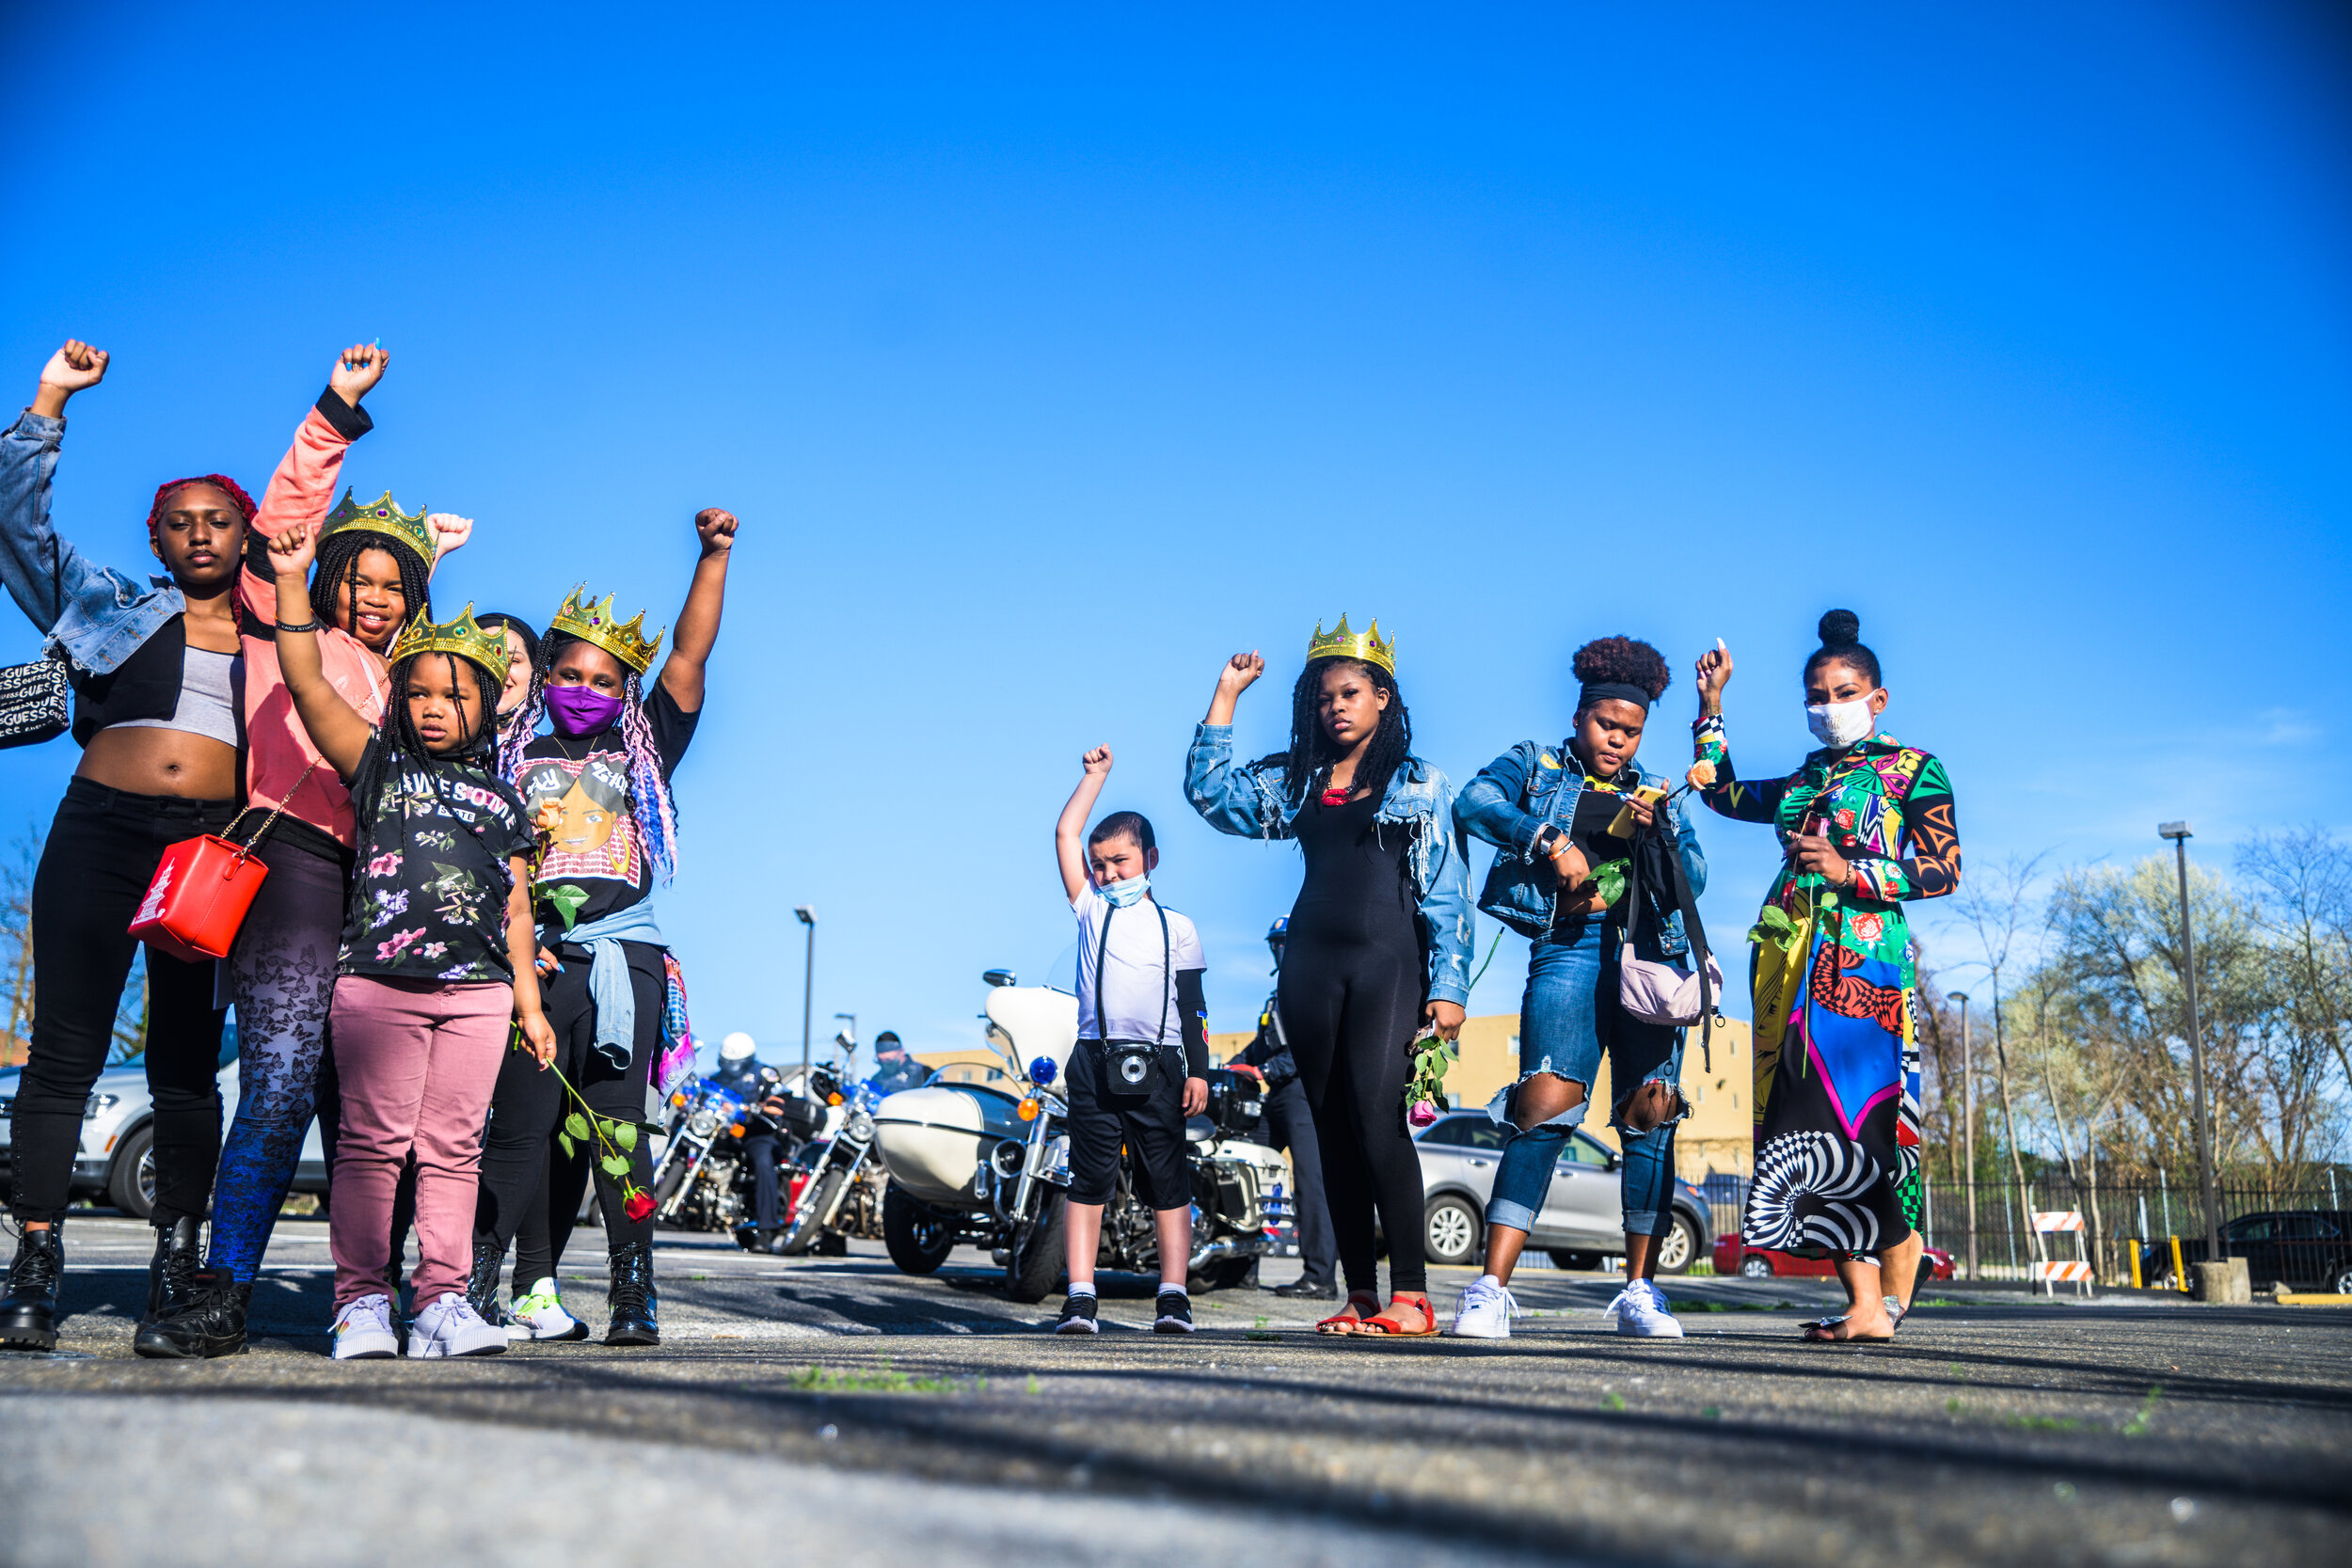
Check out and see what Royal Exposure is all about
Composition…. it’s all how you frame it!


Rule of thirds top 10 list
Rule of Thirds: Divide your frame into a 3x3 grid and place your subject along these lines or at their intersections. This creates balance and interest in your photo.
Leading Lines: Use natural lines in your environment (roads, rivers, fences) to guide the viewer's eye toward the main subject.
Framing: Use elements like windows, doorways, or trees to frame your subject. This draws attention to the subject and adds depth to the image.
Symmetry and Patterns: Look for symmetry and patterns in your environment. They can create visually pleasing and harmonious images.
Background: Pay attention to the background. A cluttered or distracting background can take focus away from your subject. Aim for a simple, clean background that complements your subject.

Composition Top 10 List
Depth: Create a sense of depth in your photos by including objects in the foreground, middle ground, and background. This gives your images a three-dimensional feel.
Viewpoint: Experiment with different angles and perspectives. Get low to the ground, shoot from above, or try a side angle to find a unique viewpoint.
Fill the Frame: Get close to your subject or use a zoom lens to fill the frame with your subject. This removes distractions and emphasizes the details of your subject.
Negative Space: Use empty or "negative" space around your subject to create a minimalist look. This can help to emphasize the subject and create a more powerful image.
Balance: Balance the visual weight in your photo. If your main subject is on one side, balance it with another less dominant object or element on the other side.

Breaking down the basics
Exposure Basics
Exposure is about how bright or dark a photo is. It's controlled by three things:
Shutter Speed: This is like blinking your eyes. If you blink fast, less light gets in. If you blink slowly, more light gets in. Fast shutter speed = less light (darker), slow shutter speed = more light (brighter).
Aperture: Think of this like the pupil in your eye. It can get bigger or smaller. A big aperture (like a wide-open pupil) lets in lots of light, making the picture brighter. A small aperture lets in less light, making it darker. Aperture is also called "f-stop."
ISO: This is like a light amplifier. Low ISO means the camera is not very sensitive to light (darker pictures), and high ISO means it's very sensitive (brighter pictures). But, high ISO can make pictures look grainy or noisy.


Composition basics
Composition is about arranging things in your photo so it looks nice. Here are some easy ways to do that:
Rule of Thirds: Imagine your picture is divided into 9 squares by two lines across and two lines down. Try to put important things (like a person's face) along these lines or where they meet.
Leading Lines: Look for lines in your picture that lead to something interesting. These lines can be roads, rivers, or even the edge of a table. They help guide people’s eyes to the important parts of the picture.
Framing: Use things like windows or branches to create a frame around your subject. It makes the subject stand out more.
Background: Make sure the background isn’t too busy or messy. A simple background helps your subject stand out.
Fill the Frame: Get close to what you're taking a picture of, so it fills up most of the picture. This shows more details and makes it clear what the picture is about.
Check out some of the past Royal Exposure Work


